When you build your software with CI, you might want to sign the build artifacts and distribute the signature with the software in an automated way. There are a few things to note.
- As we will see later, you need to remove the password protection from you OpenPGP key and add it as a secret variable to your GitLab project. Having password-less keys anywhere is always something you should be careful with.
- I’m sure the developers of GitLab have been very careful to keep secret variables secret. However, what system has been perfect so far?
- You should always use a separate key or sub-key to limit the ramifications if the key is stolen.
- If you don’t pay enough attention when writing the CI script, it might happen that the private key is exposed accidentally in the job’s log.
- The CI job runs on a GitLab runner. You should think carefully about the runners you use. Who has access to them? Is the secret key cleaned up after it was used?
- People with access to the repository (even if they cannot access the secret variables page), they might be able to change the CI configuration in order to print the secret key.
- A signature on build artifacts asserts that you approve of the build. If this happens automatically, you can’t directly review what is being signed.
I think, in the end, you have to decide between comfort (automatically signing build artifacts) and security (manually reviewing and signing of build artifacts with a local password-protected key).
If you come to the conclusion, that the benefits of signing build artifacts in an automated way outweigh the dangers, consider the following guide on how to sign build artifacts in your GitLab CI.
Let’s begin with a summary of the available keys. We have a single master-key, for the
single purpose of signing CI artifacts. We need to remove the password protected
from the key with the --edit-key command. When prompted for the new
password, leave the field blank.
[alice@alice-pc /]# gpg2 --list-keys
------------------------
pub   1024R/32B14DC7 2018-07-23 [expires: 2020-07-22]
uid                  Alice <alice@example.com>
We need to export the private key
[alice@alice-pc /]# gpg2 --armor --export-secret-key alice@example.com
-----BEGIN PGP PRIVATE KEY BLOCK-----
Version: GnuPG v2.0.22 (GNU/Linux)

lQH... secret secret...
...secret secret...b8vA==
=lHDa
-----END PGP PRIVATE KEY BLOCK-----
[alice@alice-pc /]#
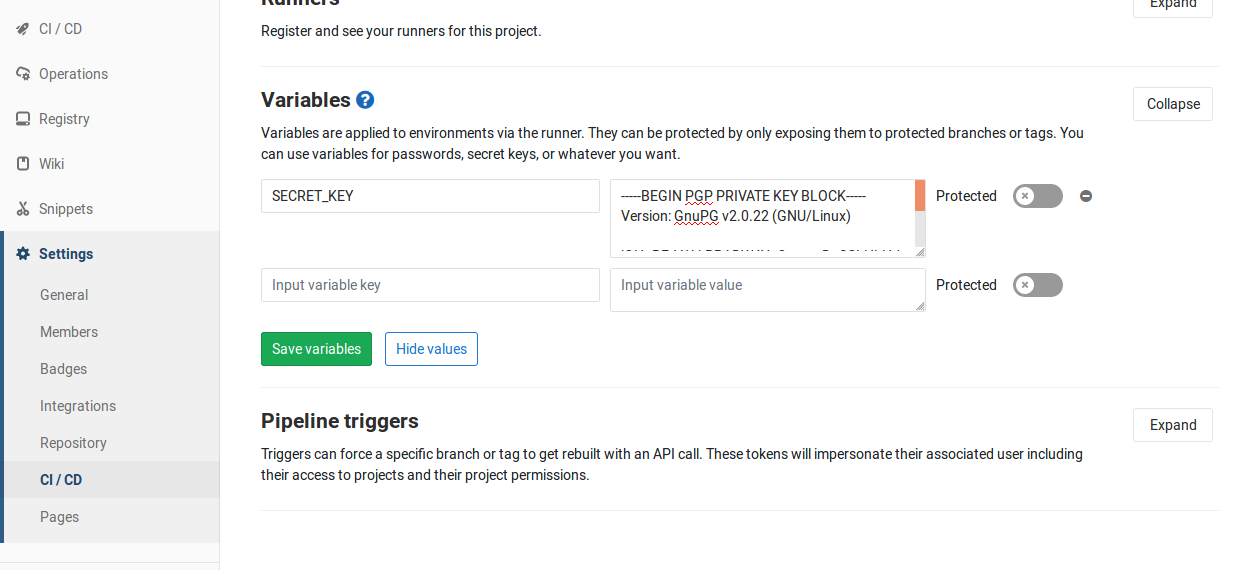
and add it to GitLab secret variable store as SECRET_KEY. The name of the
variable is arbitrary, however, the name has to match the one used in the CI
script.

To demonstrate, how to sign artifacts in a CI job, we first need a job, which creates the artifacts and then a job which does the signing.
stages:
  - build
  - deploy

my_build:
  stage: build
  image: ubuntu
  artifacts:
    paths:
      - myapp.txt
    expire_in: 1d
  script:
    - date > myapp.txt

sign:
  stage: deploy
  image: centos
  dependencies:
    - my_build
  script:
    - echo "${SECRET_KEY}" | gpg --import
    - gpg --armor --detach-sign myapp.txt

  artifacts:
    paths:
      - myapp.txt
      - myapp.txt.asc
    expire_in: 1mos
The first job creates a simple text file containing the current date string. The
second job takes the secret key and adds it to the GnuPG keyring. I have used
the CentOS image because it natively ships with GnuPG installed. Please note,
that the quotation marks around the secret key are essential. Without them, the line
breaks in the key are converted to spaces which confuses gpg --import.
The gpg --detach-sign takes the secret key and our build artifact to creates a
signature. That’s it.
The whole chain is also demonstrated in the sign-in-ci repository.
This might also interest you
